|
| Fuel Tank Installed |
Couple of weeks since the last update... I've now finished the brake pipes and had intended to do the fuel and clutch pipes this weekend but the courier let me down so I was twiddling my thumbs a little. I've fitted the fuel tank, I spoke to Jon at the factory about this as other people seem to have had different approaches. Jon advised that they simply drill and tap the chassis and bolt the tank on, he showed me their demo which uses that solution and they've not had any issues - so I went along with their advice. I also fixed the fuel pump onto the chassis rail.
While I was talking to Jon I took some advice on the installation of the handbrake mechanism that links the two cables from the hubs to the single cable from the handbrake. I've adjusted this in order to get a better pull on the cables and to allow the single cable more flexibility. Originally I had the lever arm parallel with the rear bulkhead, but I've altered this as you can see below. I also spent some time adjusting the individual cables to the hubs as I found that it was exerting more force on the O/S wheel. When I was reading TommyBoy's blog I saw that he had inadvertently trapped his handbrake cable under the body, so I tied mine off under the wheel arch and out of the way.
 |
| Handbrake Mechanism |
 |
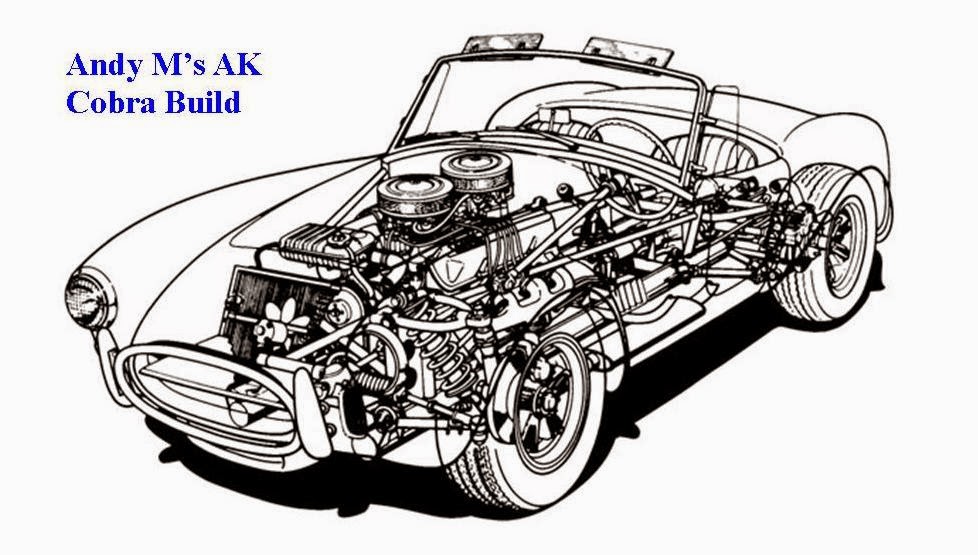
| Rolling Chassis |
Barring the fuel and clutch pipes I now have a completed rolling chassis ready for the engine and gearbox, (not due for a few weeks). I rolled it out into the sunshine, the first time it's been off the stands since it arrived in Jan. Gave me the chance to sweep out the garage and wipe up the bits of diff oil and copper grease. Since I had nothing else that I could get on with I made the snap decision to trial fit the body and prepare the way to fit the pedal box etc. so I could test the brake lines. Managed to do this surprisingly easily with just 3 of us, except that the body did not want to sit on the chassis properly. I mentioned earlier about TommyBoy trapping the handbrake cable - I thought I'll not get caught out like that. So I double checked all the cables pipes and for any left over tools etc. but managed to miss the glaringly obvious strips of underlay that I'd put in the floor of the chassis to protect it! With these removed the body fits perfectly and is "snugly" in the garage. It is tight but I can get get all round the car and have a reasonable amount of space at the front.
 |
| Trial Body Fit |

And this is now the sight that greets me when I open the door from the house into the garage .... worth getting out of bed for!